Thursday, November 7, 2024

Spellbinders Blog Hop 2024


Hi friends! Welcome to my first Spellbinder's Blog Hop! We have so many awesome crafty people sharing their projects with you today, so make sure to check each one of them out. For my hop, I'm sharing a layout featuring Spellbinders Storytelling Adventure Prints (scsp-011) along with the Happiness Sentiments betterpress die set (BP-175), Four Petal Floral 3d embossing folder (ed3-053) and Wander die (s2-403). Hope you will get a few inspiration for your next project, and let's get started!
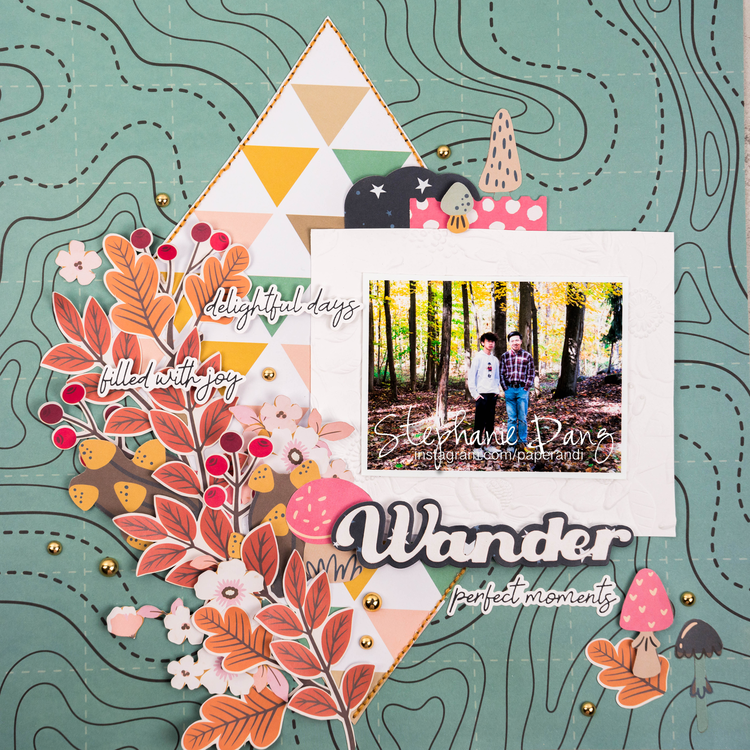
Wander Layout

I started with this beautiful turquoise map for my background. I cut out a large triangle from the triangles background. This doesn't have to be perfect. My triangle cut out is actually slight irregular. I adhere a little off center towards left side, and added some hand-stitching using embroidery needle and thread.
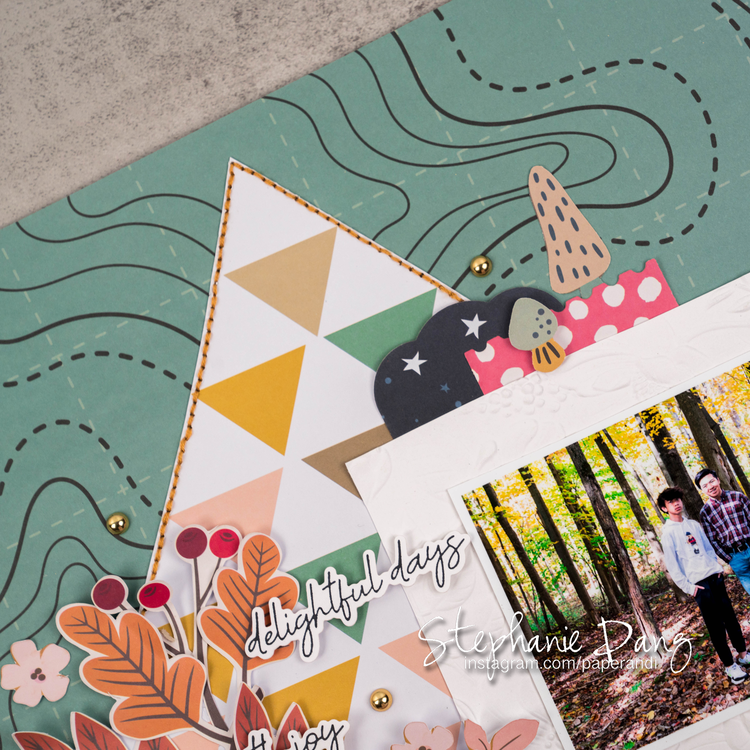

Next, I fussy cut flowers, leaves, and mushrooms from a few selected papers from the Storytelling Adventure collection. I added them towards left side of the truangle. Using the embossing folder, I embossed the floral through my spellbinder's machine, and trimmed off the edges on white cardstock. I attached to my layout on the right side.
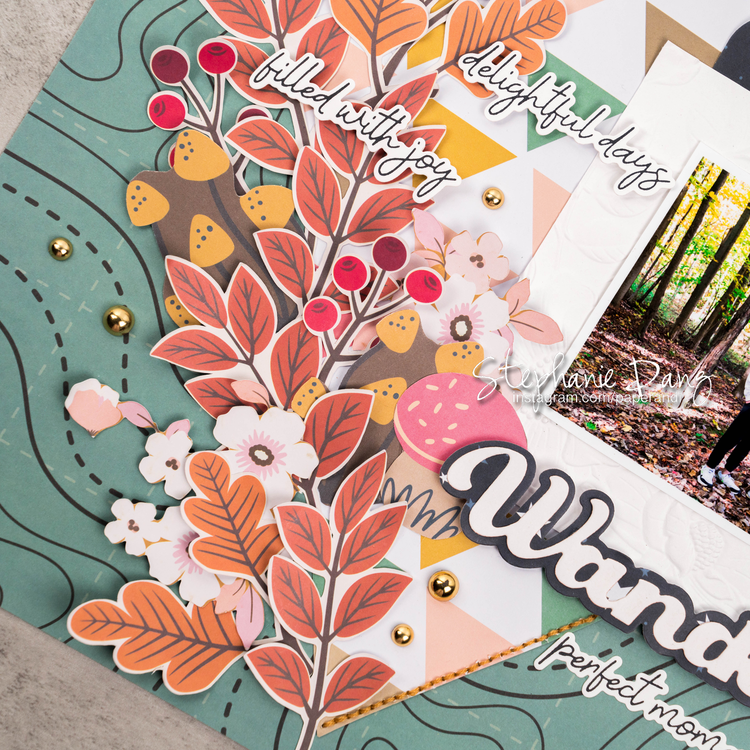

I diecutted labels using dies from the spellbinders advent calendar 2023 and 2024 on navy star and pink polka-dot papers from the collection. I attached that to the top left of my embossed paper.
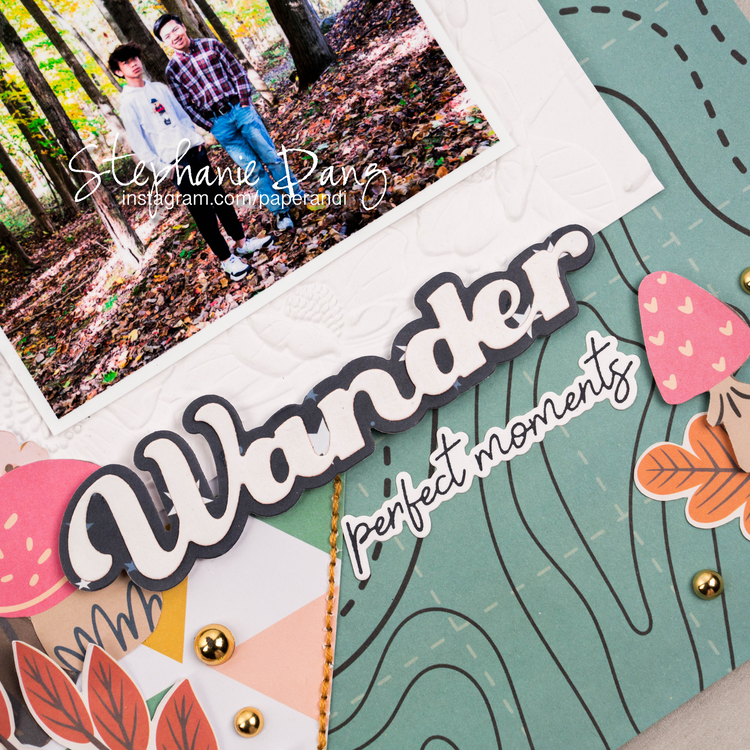

I diecutted the "wander" title on navy and white paper. I also stamped and cut out the betterpress sentiments: delightful days, filled with joy, and perfect moments. I attached them throughout my layout, and added my title.
I finished up my layout with a few ephemeras (mushrooms) and added the gold flairs around my page.

SUPPLIES: Spellbinders Storytelling Adventure prints (scsp-011), white cardstock, embossing folder (ed3-053), Happiness Sentiments betterpress die set (BP-175), Wander die (s2-403), adhesive, foam dimensional adhesive, and labels (Spellbinders Advent 2023 and 2024).

Giveaway:
To celebrate this release, we are giving away a $25 gift certificate to 3 lucky blog readers – selected from the comments on our blog. Giveaway closes Sunday, November 10th, 11:59 pm MST. The winner will be announced in this blog hop post the following Wednesday. The winner is responsible for shipping costs, duties, and taxes.

Please note, store credit (gift certificate) cannot be applied to Club Subscriptions. Store credit can be applied to shop past Club products, Club extras and regular releases.

Blog Hop Order:
Spellbinders Blog
***YOU ARE HERE*** Stephanie Dang
María Celeste Gonzalo
Flávia Cavaliéri
Angela Tombari

Saturday, October 21, 2023

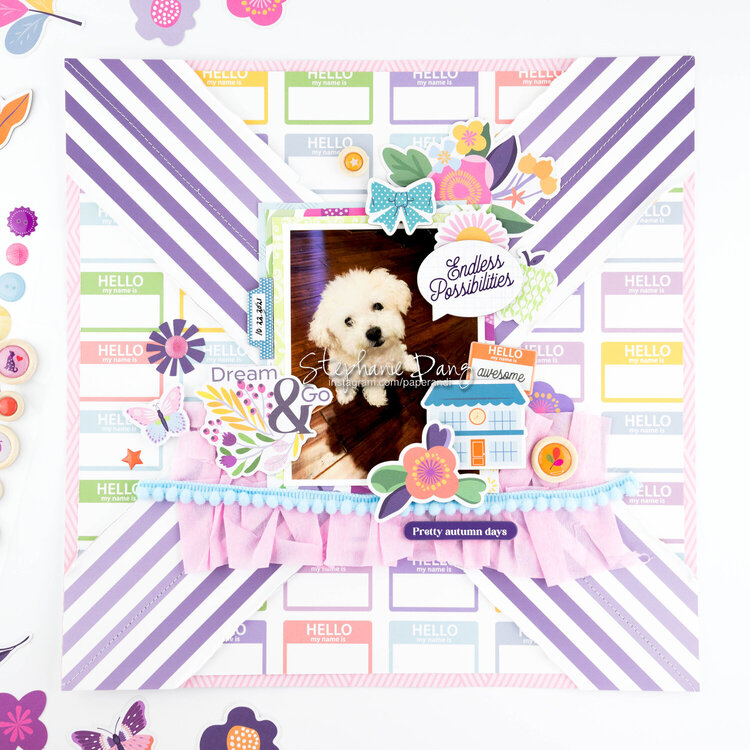
Hip Kit Club: Dream & Go Layout


Hello friends! The September kits from Hip Kit Club had a completely different vibe from July and August, and that is not a bad thing! This kit is filled with more tone down colors, not as bright, but still just as fun. You will find shades of purple, violet, pink, magenta, green, orange, and yellow.

Dream & Go Layout

I started this layout by layering the "hello" patterned paper on top of pink paper. I wanted something different, so I saw the purple striped patterned paper, and trimmer a few pieces off to make an "x". I added stitching to my "x".


I layered several papers behind my photo and added it my layout. The kit came with pink crepe streamers. I placed that at the bottom of my page topped with the pom poms that also came with the kit.


I added floral and bigger ephemeras around my photo. I added my date and titles.


I finished my layouts with enamels and wood enamels.

SUPPLIES: Hip Kit Club: September 2023 kits; Others: sewing machine, thread, glue, and dimensional adhesive.

Hip Kit Club: Daily Today Layout


Hello friends! The September kits from Hip Kit Club had a completely different vibe from July and August, and that is not a bad thing! This kit is filled with more tone down colors, not as bright, but still just as fun. You will find shades of purple, violet, pink, magenta, green, orange, and yellow.

Daily Today Layout

For this layout, I knew I wanted to use the diecutted background numbers that came with the kit as my background. I am such a fan of color rays background, so I always use it as my background. I combined the two to make this layout. I fussy cut the diecutted number background in half. I only used 1/2 of it as part of my background, and saved the other part for another project.


I punched out heart borders in light blue and light yellow. I added that to the left side of my page after I had my background set. I layered my photo in white trimming, vellum, and more patterned paper. I tucked some circles, flowers, and added my title.


I moved and played around with a few more embellishments.


I finished my page with smaller ephemeras. Hope you liked my back to school layout. It's gonna be a great (school) year! ;)

SUPPLIES: Hip Kit Club: September 2023 kits; Others: sewing machine, thread, glue, and dimensional adhesive.

Hip Kit Club: Be You Layout


Hello friends! The September kits from Hip Kit Club had a completely different vibe from July and August, and that is not a bad thing! This kit is filled with more tone down colors, not as bright, but still just as fun. You will find shades of purple, violet, pink, magenta, green, orange, and yellow.

Be You Layout

This is my first layout using the September kit, I definitely wanted to incorporate Hip Kit Club's color kit from 2022. The color kit consist of a flower stamp, stencils, and die that work together. I stamped, colored, and diecutted enough to make a perfect wreath around my layout.

Next, I diecutted a lot of leaves in solid light blue and solid light lavender to make the wreath more fuller. I set all of this aside, and started my background.


I layered the star patterned paper on top of red patterned paper. I tapped a few black drops around the page. Then, I finally added all the pieces to my wreaths starting with the blue and lavender leaves. I layered my stamped and diecutted flowers on top. I added the frame, tag, and flag to my page. I added the bike, typewriter, and small sentiment.


I finished my layout with the title, subtitle, and wooden flair. I love how this one turned out, and I hope you do too. :)

SUPPLIES: Hip Kit Club: September 2023 kits; Others: sewing machine, thread, glue, and dimensional adhesive.

Tuesday, October 17, 2023

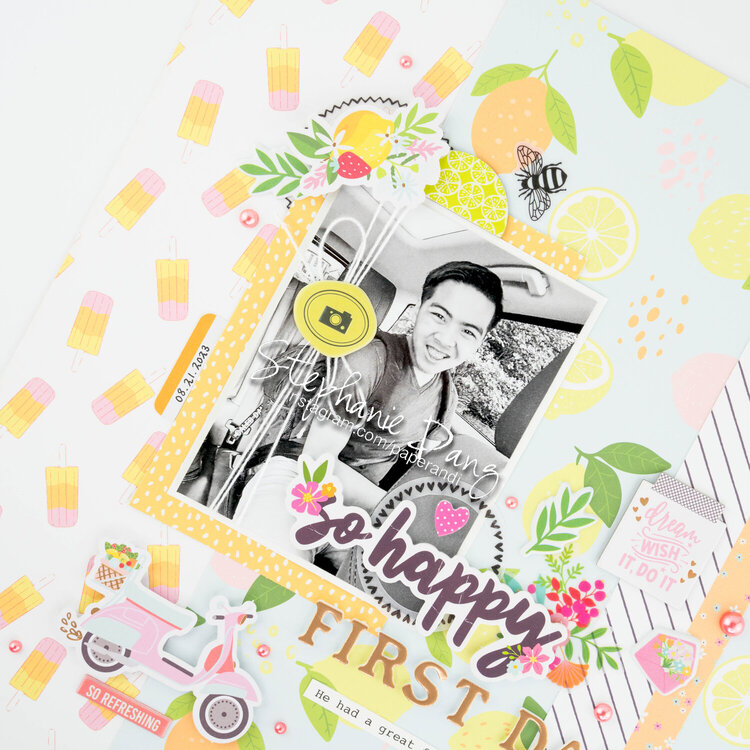
Hip Kit Club: First Day Layout


Hello friends! The Hip Kit Club's August kits were just as fun and beautiful as the July kit. The theme of this kit were citrisy, vibrant, bright, with a few pinks. Here's my creation and I hope you will love!

First Day Layout

For this layout, I wanted to incorporate the things I love about this kit, and that is CITRUS. I just find them vibrant and fun! I also wanted to make sure I incorporate that bold vellum circle on the layout from the kit somehow. This is what I came up with.


Patterned paper upon patterned paper upon patterned paper as my background. The icecream, citrus, and bold stripes were oh so fun! I added my photo layered in orange, because theme is still citrisy. I added circles, small flowers, title, and subtle.


I added the bike, tags, and small flairs.


I finished my layout with journaling. I also added the bee, because bees were part of the kit! :) Hope you like my layout and give it a try!

SUPPLIES: Hip Kit Club: August 2023 kits; Others: sewing machine, thread, glue, and dimensional adhesive.

Hip Kit Club: Kintaro Layout


Hello friends! The Hip Kit Club's August kits were just as fun and beautiful as the July kit. The theme of this kit were citrisy, vibrant, bright, with a few pinks. Here's my creation and I hope you will love!

Kintaro Layout

Ok. So for this layout- I was really unsure to post, but for some reason.. this layout turn out to be quite popular? I honestly didn't know if I love it or hate it. My whole idea was as seen. To make my photos and embellishment swirl out of that page. To do something like this was definitely out of my comfort zone.


I obviously started out with the swirl page, and thought it would be fun if everything just gradually swirls outwards along with the background.


I used a bunch of tags and frames for this layout. I added bigger embellishments like the bread basket, citrus, and flowers.


Last, I added my title, subtitles, and small flairs. This layout turn out interesting. I am still unsure if it would be one of my favorites or a total nah for me, but hope it gave a some inspiration for your next creation.

SUPPLIES: Hip Kit Club: August 2023 kits; Others: sewing machine, thread, glue, and dimensional adhesive.

Hip Kit Club: This is Our Moment Layout


Hello friends! The Hip Kit Club's August kits were just as fun and beautiful as the July kit. The theme of this kit were citrisy, vibrant, bright, with a few pinks. Here's my creation and I hope you will love!

This is Our Moment Layout

My goal in any club kits is that at the end of all my creations, I have used each of the designs in the front or back of a paper at least once. If I received 11 patterned papers with different designs in the back, I will have use at least all 22 designs at the end of finishing the kit. That being said, it gives me a challenge. For example this very bold, "already" set background that I used for this layout.


Don't get me wrong. It's beautiful. You don't have to do anything to it if you don't want to. But the designer in me said I need more oomph. So, how can I make this even more fun to look at without taking away too much from this beautiful background and my chosen photo? I added vellum. It's a safe way to tone down things that are too bold, make photos pop from pages, but still let that lovely background shine through.


For this layout, I trimmed and layered bigger pieces of pattern papers for my background. I typically do this for my photos instead of my background, but I wanted to make my background even more fun to look at. I kept my photo layered pretty clean, and chose to focus more on that background and embellishments.


I added the citrus, titles, and subtitles around my page. Finished my layout with embellishments, small flairs, and my journaling. Hope my layout gave you a bit of inspiration.

SUPPLIES: Hip Kit Club: August 2023 kits; Others: sewing machine, thread, glue, and dimensional adhesive.

Sunday, October 15, 2023

Everleigh Hope: Perfect Layout


Hi! It's my turn to share, and I have a 8.5 x 11 page layout to share with you today featuring Everleigh Hope's latest collection, Orchid. Orchid is a fun modern collection consisting of black and white, yellow, stars, flowers, and ORCHIDS!

Perfect Layout

I started out with a solid white background and added the following papers: black and white stars and little orchid. I also scallop punched the large orchid paper, and placed it at the bottom between the other two patterned papers.


Next, I mounted my photo on white, and added it to my layout. I trimmed and added the journaling card, orange dot half. I also added the following die cuts: navy blue tab, green curved label (with the "choose me" stamp attached), and pink curved label. Then, I added the following die cuts: orchid (2x), plated sweets (2x), sweets (2x), red heart (3x), yellow heart, and green heart.


Last, I added the "interesting" sticker, the "perfect" die cut, and finished it off with journaling. Hope I gave you a bit of inspiration for your next project.


SUPPLIES: Everleigh Hope: Orchid digital collection; Others: sewing machine, thread, glue, and dimensional adhesive.

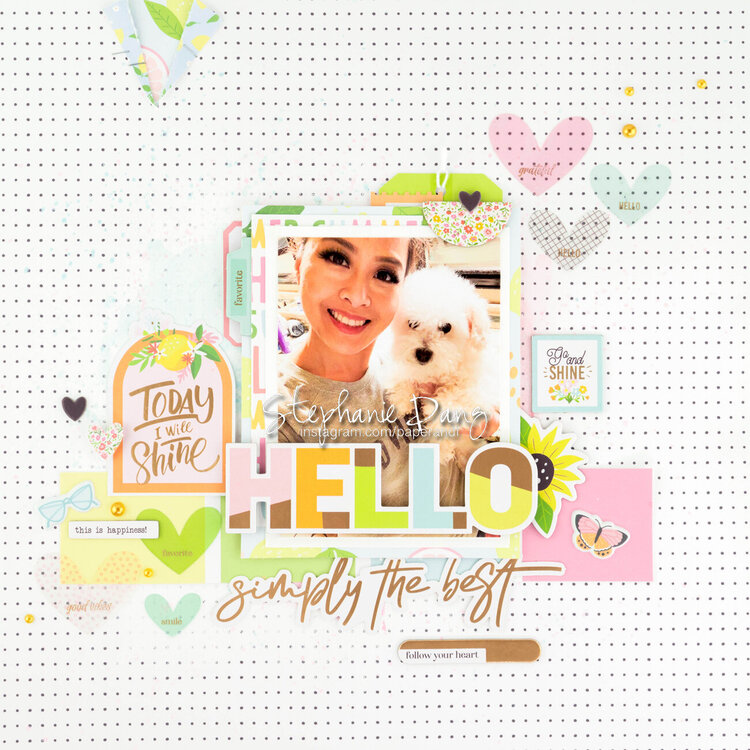
Hip Kit Club: Hello Layout


Hello friends! The Hip Kit Club's August kits were just as fun and beautiful as the July kit. The theme of this kit were citrisy, vibrant, bright, with a few pinks. Here's my creation and I hope you will love!

Hello Layout

For this layout, I wanted to incorporate all my favorites, which are bright colors, cheery, and a dog. I was still in the mood to play with mixed media, so I decided to white gesso to this polka dotted background. The first thing I wanted to make sure my layout has was that "hello" sentiment from the kit. From there, I chose all the papers and embellishment that gave that same vibe as the sentiment.


I layered patterned paper after pattern paper to my photo. I added the "hello" sentiment, and played around from there.


This is where the fun begins. I added the tags, labels, and banner. I finished the layout off with those vellum hearts from the kit along with enamels. Hope my layout gave you a BRIGHT inspiration.

SUPPLIES: Hip Kit Club: August 2023 kits; Others: sewing machine, thread, glue, and dimensional adhesive.

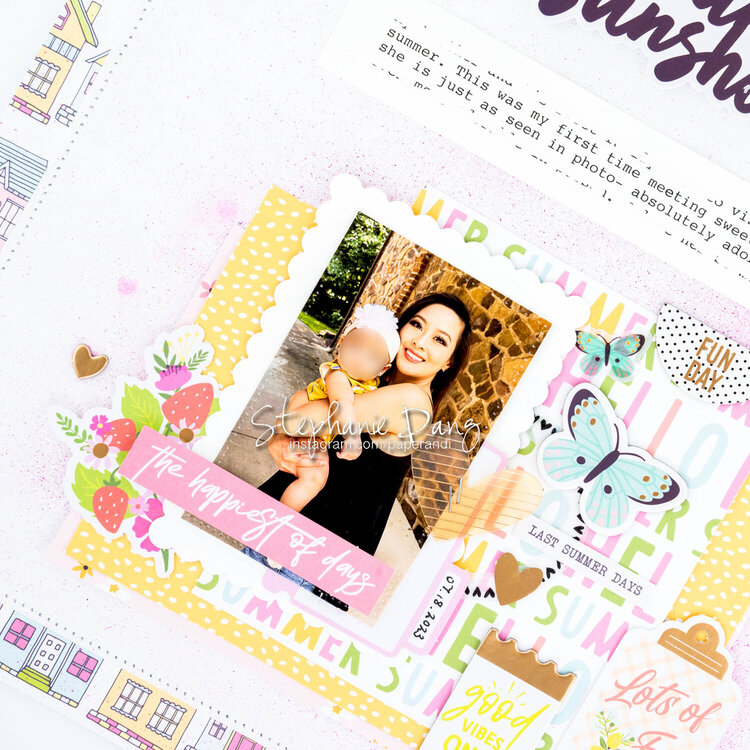
Hip Kit Club: You Are My Sunshine Layout


Hello friends! The Hip Kit Club's August kits were just as fun and beautiful as the July kit. The theme of this kit were citrisy, vibrant, bright, with a few pinks. Here's my creation and I hope you will love!

You Are My Sunshine

For this layout, I layered white cardstock on top of the "houses" paper. I wanted to incorporate a bit of mixed media, so I planned out my vision first. The idea was to use one of those nice bold sentiments that came from the kit as my title, add my journaling, and then add my photo. I didn't want the mixed media to be overbearing, so I only added it the bottom portion where I knew my photo will be.


I laid out my title, and gave some room for journaling before adding the mixed media. I used a pink spray mist to add that touch of color to the bottom before layering on a few selected pattern papers. I added my photo right on top framed in white that I diecutted in scallop pattern.


I added the flowers, banners, and clipboard. I added the butterfly, and subtitle.


Last, a few bits and pieces to make this whole layout feel more complete. Hope you enjoy this process and give it a try! Mixed media doesn't have to be complicated! ;)

SUPPLIES: Hip Kit Club: August 2023 kits; Others: sewing machine, thread, glue, and dimensional adhesive.

Saturday, October 7, 2023

Hip Kit Club: Relaxing Layout


Hello friends! I have a layout to share with you today that I created with the HKC July 2023 kits. These kits were filled with bright yellow, orange, hot pink, and blue. Throw in a bit of hibiscus and tropical flowers to complete that summery vibe!

Relaxing Layout

I started this layout with a blank white cardstock and layered the floral patterned paper on top. I trimmed and sized down the hot pink patterned paper for a pop of color. Then, I layered on the palm trees and a different floral paper. I fussy cut the houses, and added them as a border kind of below my photo. I noticed I had a bit too much white now, so I added a yellow trim to my photo before adding it to my layout.


I collected a lot of little charms over the years, and wanted to use it somehow on my layout. The easiest for me to do that is to aways wrap my photo in twine, and placing the charm there.


Next, I added the tags and florals around my page. I continue to play with embelishments to my liking.


Last, I add my title, sub titles, and a few bits and pieces. Hope my layout gave you some inspiration.

SUPPLIES: Hip Kit Club: July 2023 kits; Others: sewing machine, thread, glue, and dimensional adhesive.

Thursday, October 5, 2023

Hip Kit Club: Summer Layout


Hello friends! I have a layout to share with you today that I created with the HKC July 2023 kits. These kits were filled with bright yellow, orange, hot pink, and blue. Throw in a bit of hibiscus and tropical flowers to complete that summery vibe!

Summer Layout

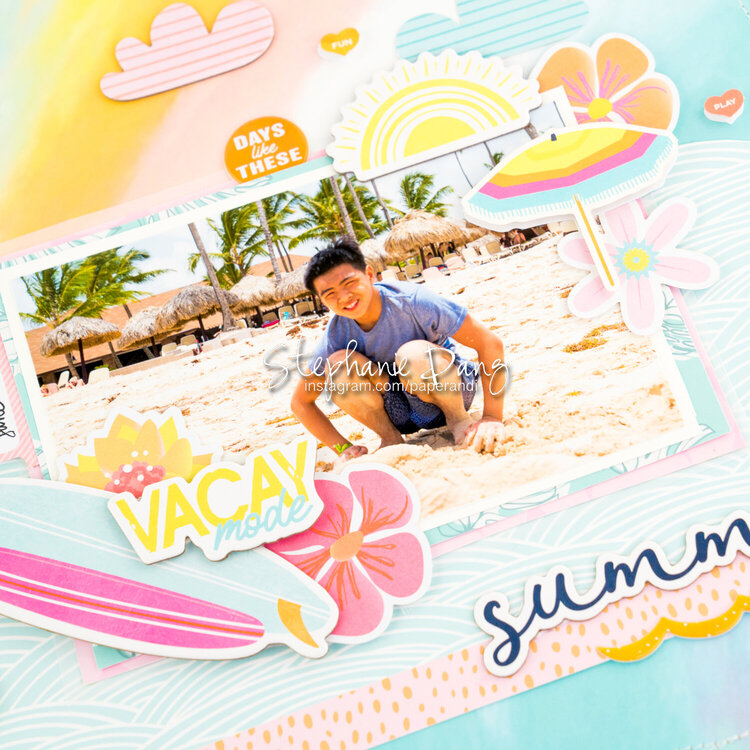
Again with this lovely aurora looking paper! I had to use it as a background. The colors and hues are just so stunning that it calls for a great layout, and I hope I did it justice.


I fussy cut the scallop blue patterned paper, and trimmed it as seen in photo. This is suppose to mimic the beach water and waves. I created layers on layers behind my photo using white, tropical leaf, pink, and vellum.


I added the date and die cuts that look like tabs to my photo. I put the clouds in the sky to draw your eyes around the page. Next, I added the florals and die cuts to the top right and towards the bottom left of my photo.


I finished my layout with my title and a few more bits and pieces.

SUPPLIES: Hip Kit Club: July 2023; Others: sewing machine, thread, glue, and dimensional adhesive.

Hip Kit Club: Beach Layout


Hello friends! I have a layout to share with you today that I created with the HKC July 2023 kits. These kits were filled with bright yellow, orange, hot pink, and blue. Throw in a bit of hibiscus and tropical flowers to complete that summery vibe!

Beach Layout

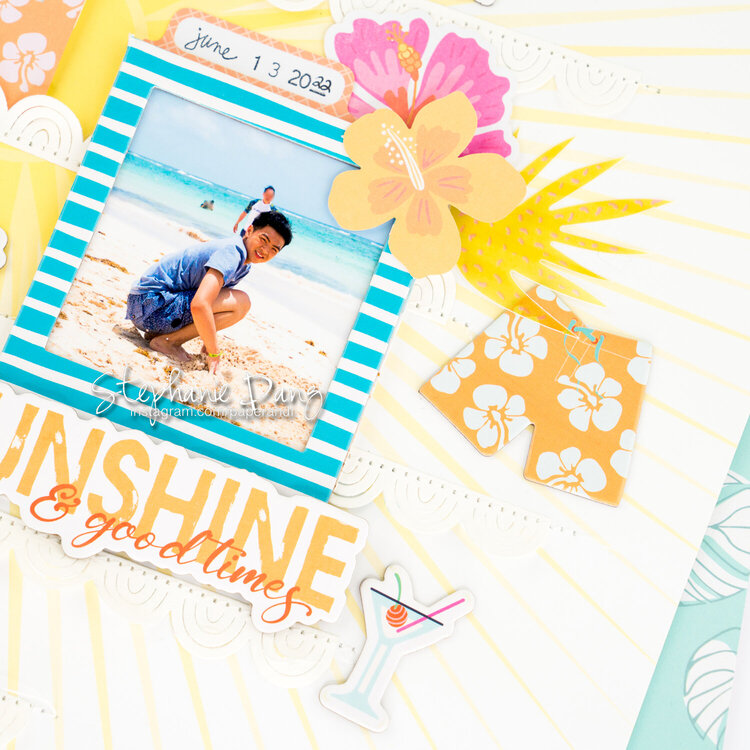
Flipping through July's patterned papers, I came across this sunray paper, and knew I wanted to create a layout with it. I chose to keep the layout fairly simple, so that the rays from the background continue to shine.


For this layout, I chose beach pictures of our kids playing in the sand. To make it a little less boring with just embellishments, I framed my photos with the floral orange frame and the blue striped frame.


I used the HKC scallop dies and cut out a few in white. These are suppose to mimic the waves a little bit. Not sure if it does, but I love the look of it.


Last, I added the embellishments, title, subtitles, and bits -n- pieces to finish up this layout. Hope my layout gave you some array of inspiration. :P

SUPPLIES: Hip Kit Club: July 2023; Others: sewing machine, thread, glue, and dimensional adhesive.